One of the most useful capabilities of patterns is the ability to tie them directly to one or more block types. For example, you can assign a gallery pattern to the Gallery (core/gallery) block type and use that specific pattern whenever you insert a new Gallery.
But the feature offers even more than that. In this article, you will learn how to add a basic connection between a block type and a pattern and how to take advantage of some special cases in WordPress.
Besides the techniques described below, block type patterns are also needed for creating starter page patterns, which you can learn more about in the Starter Patterns documentation.
Block-specific patterns
It’s important to note that patterns that are connected to a block type behave just like other patterns. What you’re doing is making WordPress aware that the pattern is meant for one or more block types.
For many cases, you may simply want to create a pattern that serves as a starting point when inserting a specific block, and that’s where block type patterns are often useful.
Register a block type pattern
As described in Registering Patterns, you must assign a value to the Block Types header field in your pattern file. This field can accept one or more comma-separated block types, which must include the block’s namespace and slug (e.g., namespace/slug).
Here is what the file header of pattern tied to the Cover block might look like:
<?php
/**
 * Title: Cover With Contrast Background
 * Slug: themeslug/cover-contrast
 * Categories: banner
 * Block Types: core/cover
 * Viewport Width: 1376
 */
?>
Build a block type pattern
Let’s take what you’ve learned so far and create a pattern for a specific block. In this example, you will create a simple Cover block with a single nested Heading and a background with the contrast color preset.
Create a new file named cover-contrast.php in your theme’s /patterns folder and paste this code inside it:
<?php
/**
 * Title: Cover With Contrast Background
 * Slug: themeslug/cover-contrast
 * Categories: banner
 * Block Types: core/cover
 * Viewport Width: 1376
 */
?>
<!-- wp:cover {"overlayColor":"contrast","isUserOverlayColor":true,"align":"full","style":{"elements":{"link":{"color":{"text":"var:preset|color|base"}}}},"textColor":"base","layout":{"type":"constrained"}} -->
<div class="wp-block-cover alignfull has-base-color has-text-color has-link-color">
	<span aria-hidden="true" class="wp-block-cover__background has-contrast-background-color has-background-dim-100 has-background-dim"></span>
	<div class="wp-block-cover__inner-container">
		<!-- wp:heading {"textAlign":"center"} -->
			<h2 class="wp-block-heading has-text-align-center"><?php esc_html_e( 'A simple heading', 'themeslug' ); ?></h2>
		<!-- /wp:heading -->
	</div>
</div>
<!-- /wp:cover -->
Once you’ve saved your pattern file, it should appear as normal in the inserter and Pattern Library. But the most important thing is to check that it’s working as a block type pattern.
Open a new post or page in your WordPress admin and insert a Cover block but don’t make any change to it. Then, click the Cover block’s icon in the toolbar. You should see a Patterns menu item, and if you click that, your new pattern will appear:
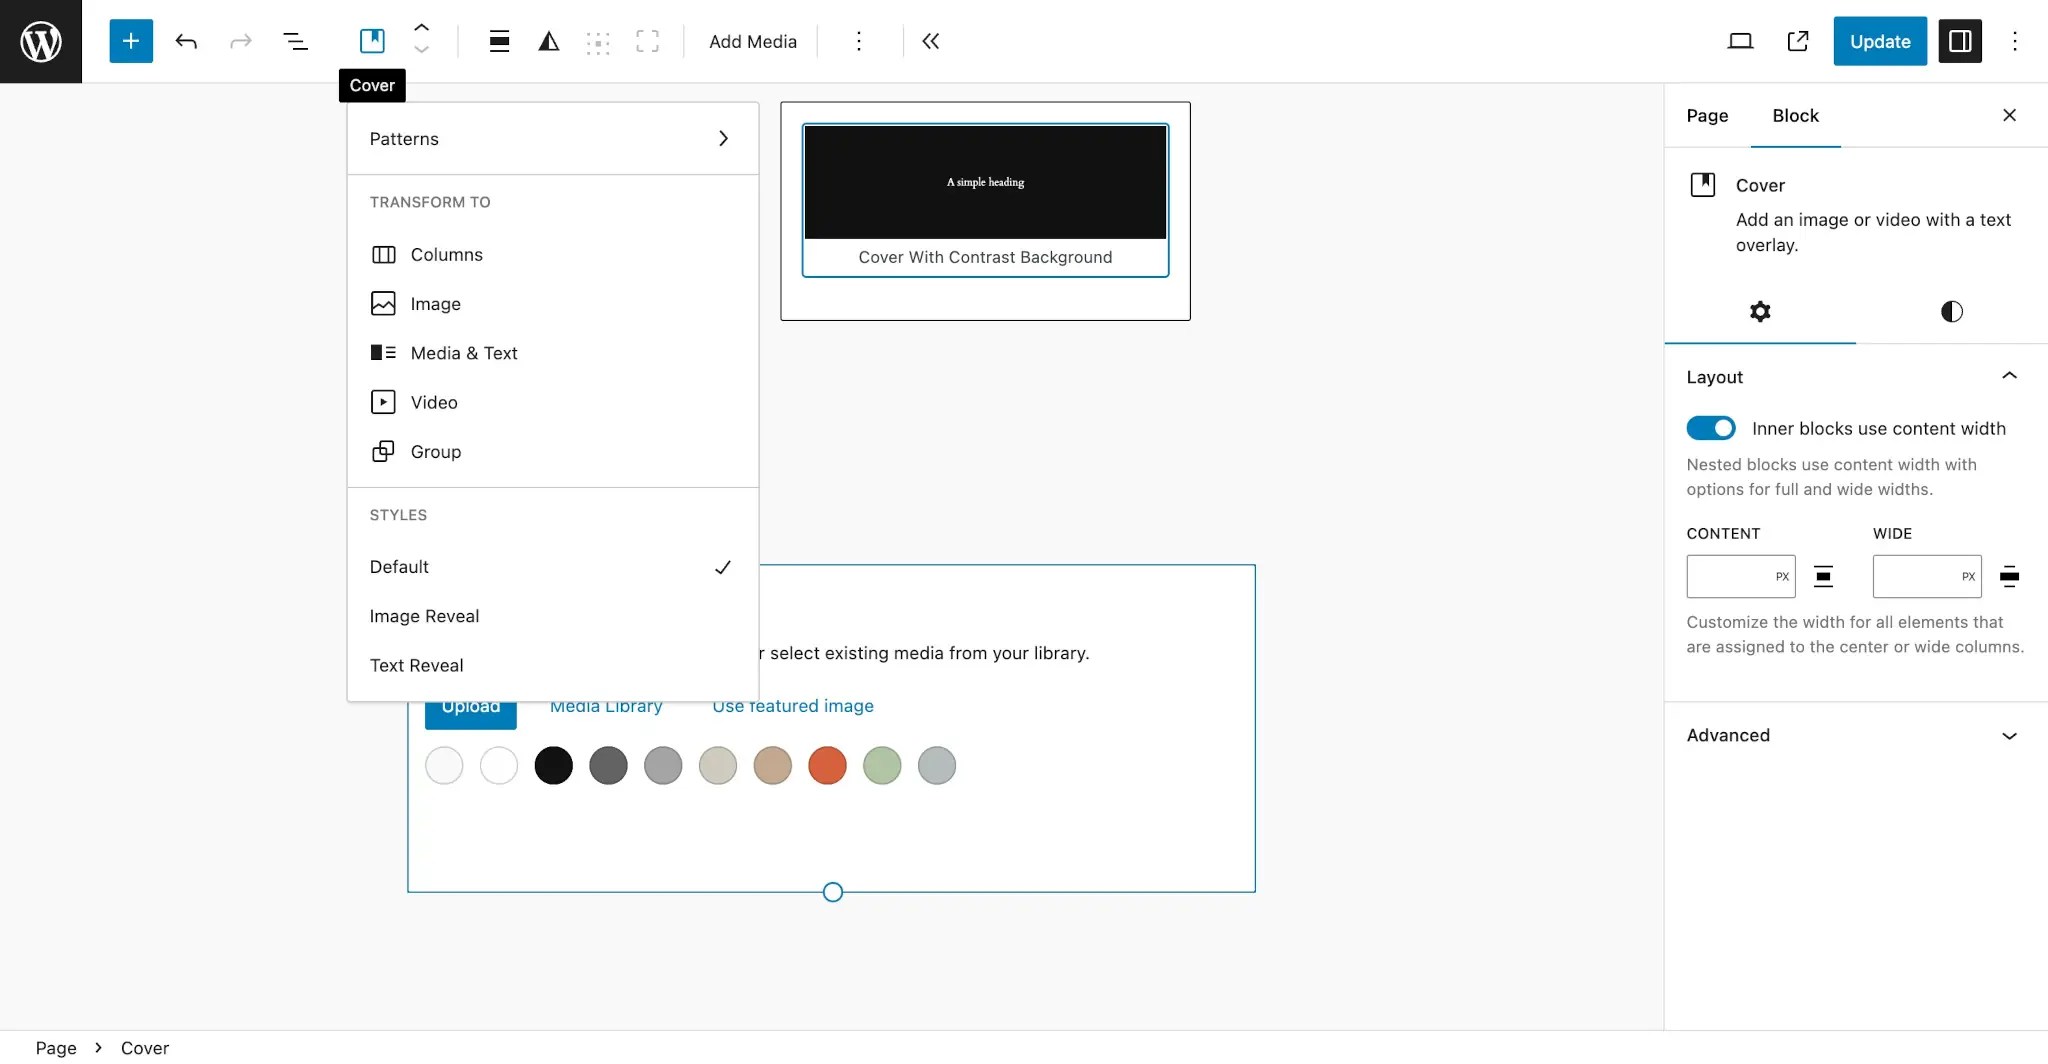
From there, if you select the pattern that you’ve registered, it will transform your inserted Cover block inside the content area:
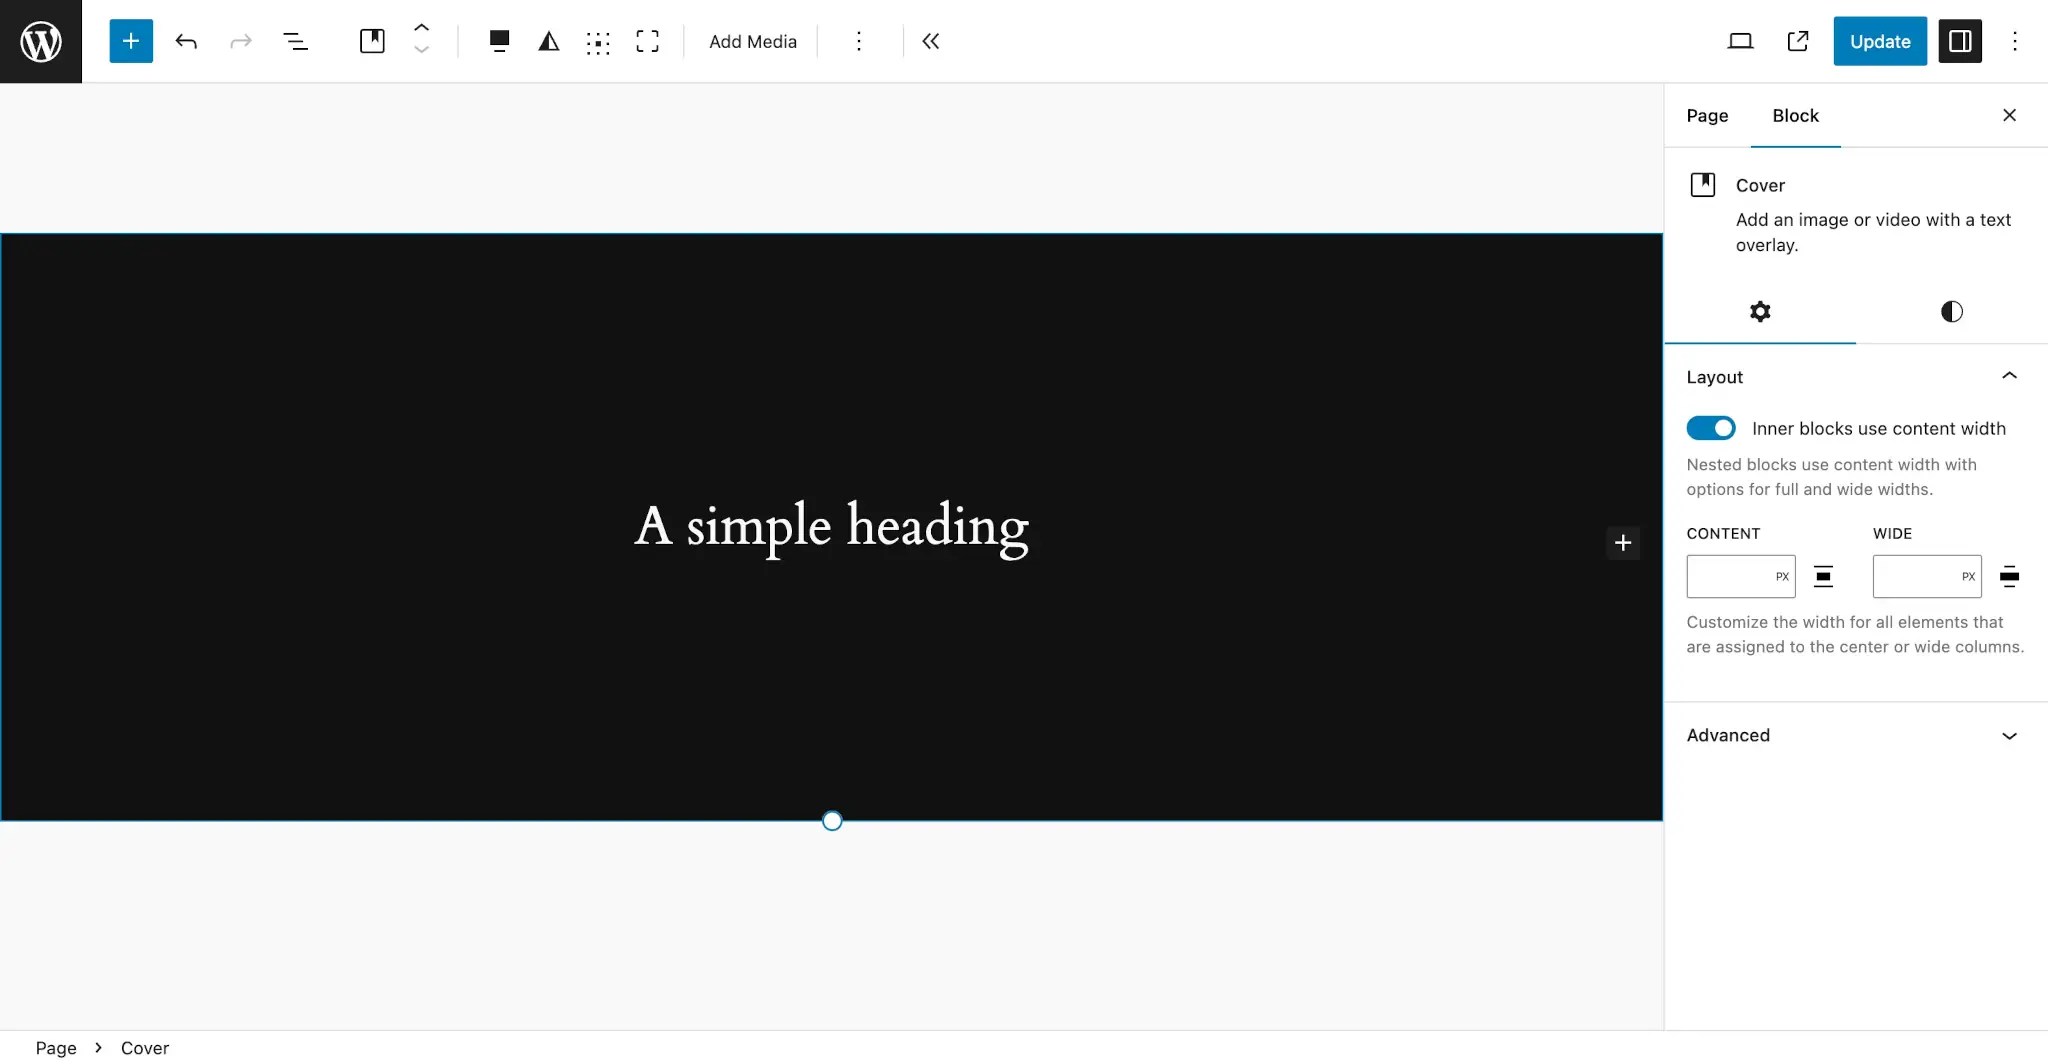
And that is the basics of how block type patterns work. But WordPress has some special handling for some blocks, which you will learn about below.
Query Loop patterns
The Query Loop block is one of the most unique and useful blocks to create custom patterns for. It gives you and your theme users the ability to quickly insert or replace existing Query blocks with an alternative posts layout.
The technique is the same as other block type patterns. You must add the core/query block type to the pattern’s Block Types file header field.
Let’s create a basic two-column grid that shows each post’s featured image, title, excerpt and date. You can, of course, use whatever layout and design that you want.
For now, create a new query-two-columns.php file in your theme’s /patterns folder and paste this code into it:
<?php
/**
 * Title: Query: Two Columns
 * Slug: themeslug/query-two-columns
 * Categories: posts
 * Block Types: core/query
 * Viewport Width: 1376
 */
?>
<!-- wp:query {"query":{"perPage":6,"pages":0,"offset":0,"postType":"post","order":"desc","orderBy":"date","author":"","search":"","exclude":[],"sticky":"","inherit":false},"align":"wide"} -->
<div class="wp-block-query alignwide">
		<!-- wp:post-template {"style":{"spacing":{"blockGap":"var:preset|spacing|40"}},"layout":{"type":"grid","columnCount":2}} -->
		<!-- wp:post-featured-image {"isLink":true,"aspectRatio":"4/3","align":"wide"} /-->
		<!-- wp:post-title {"isLink":true,"fontSize":"large"} /-->
		<!-- wp:post-excerpt {"showMoreOnNewLine":false,"excerptLength":26} /-->
		<!-- wp:post-date /-->
	<!-- /wp:post-template -->
</div>
<!-- /wp:query -->
There are two ways to take advantage of Query Loop patterns, like the one you just created. The first is to insert a new Query Loop block into a page or template:
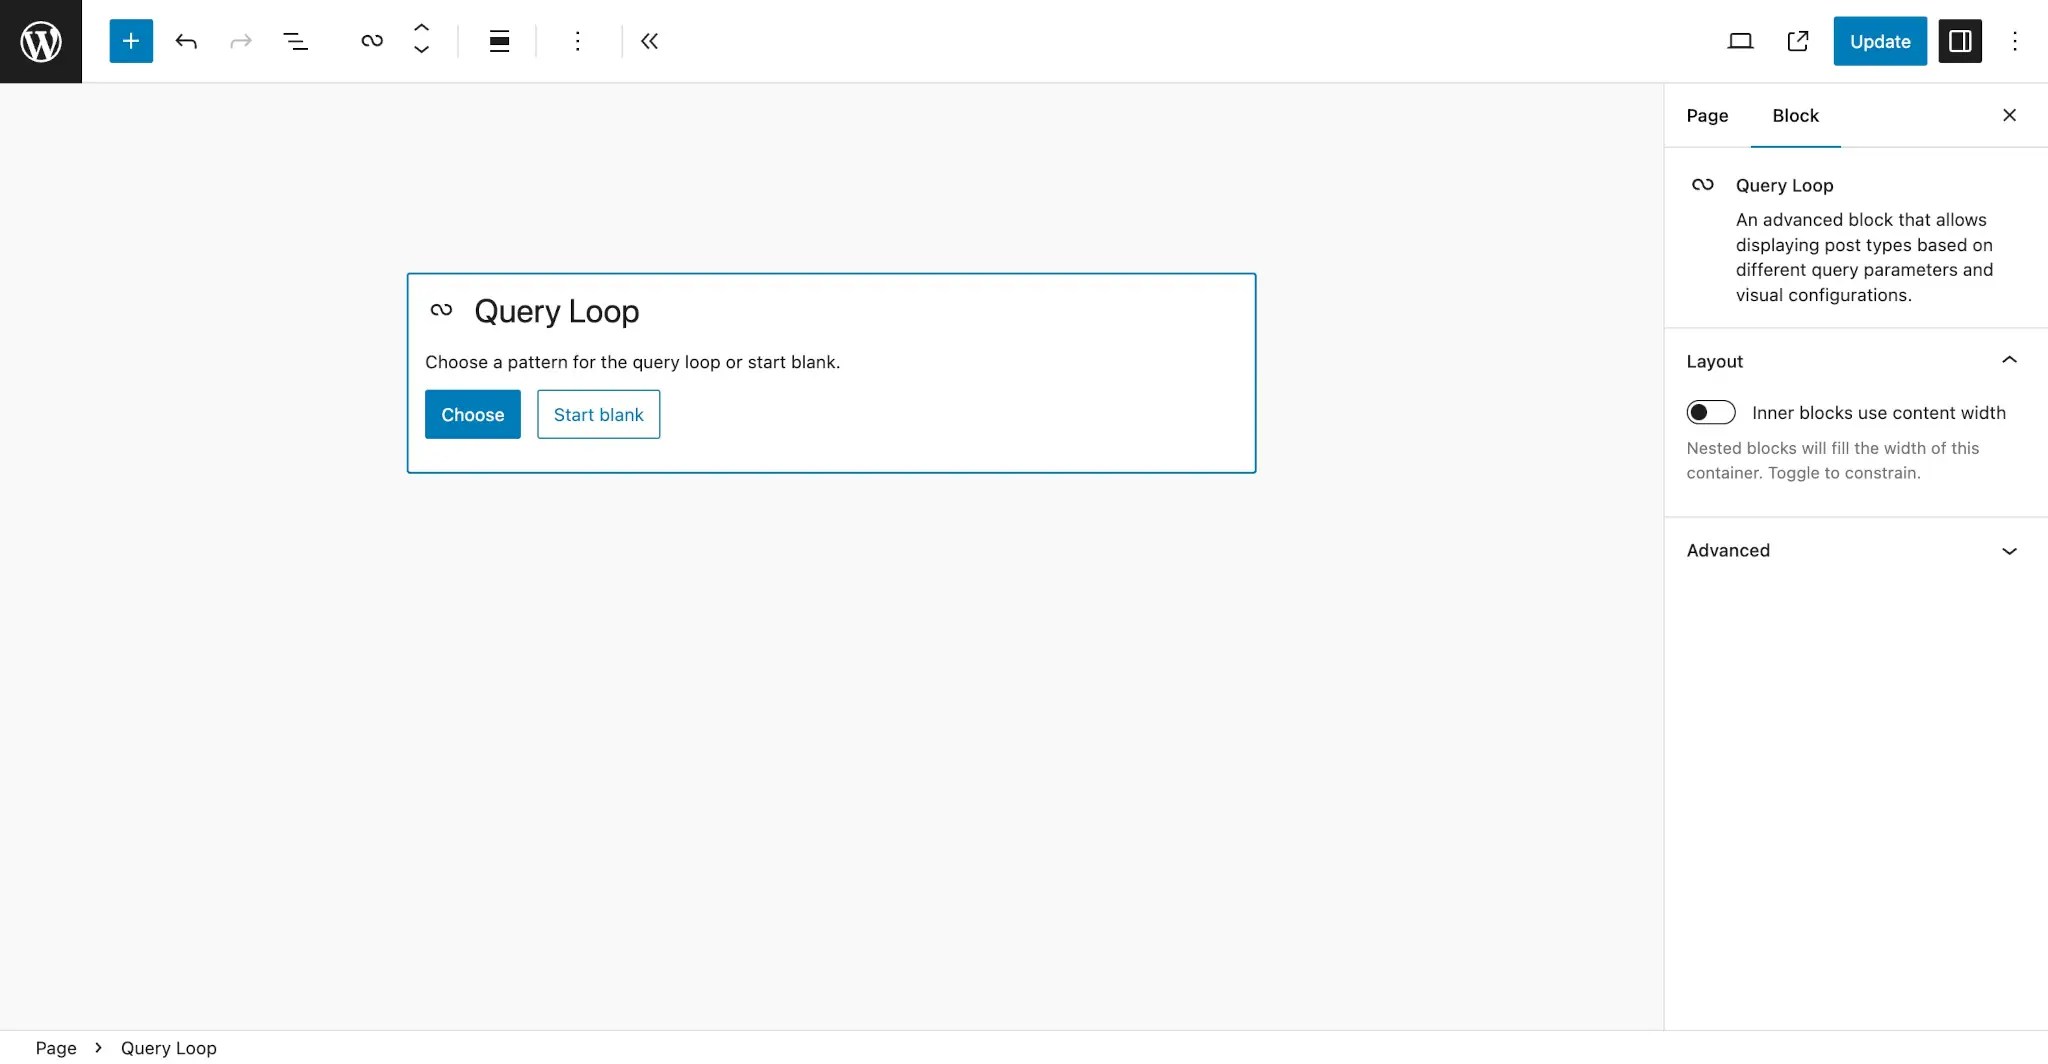
You should see a couple of buttons for adding a Query Loop from that point. Click the Choose button.
This will bring up the Choose a pattern modal. In this modal, your pattern will appear and can be selected:
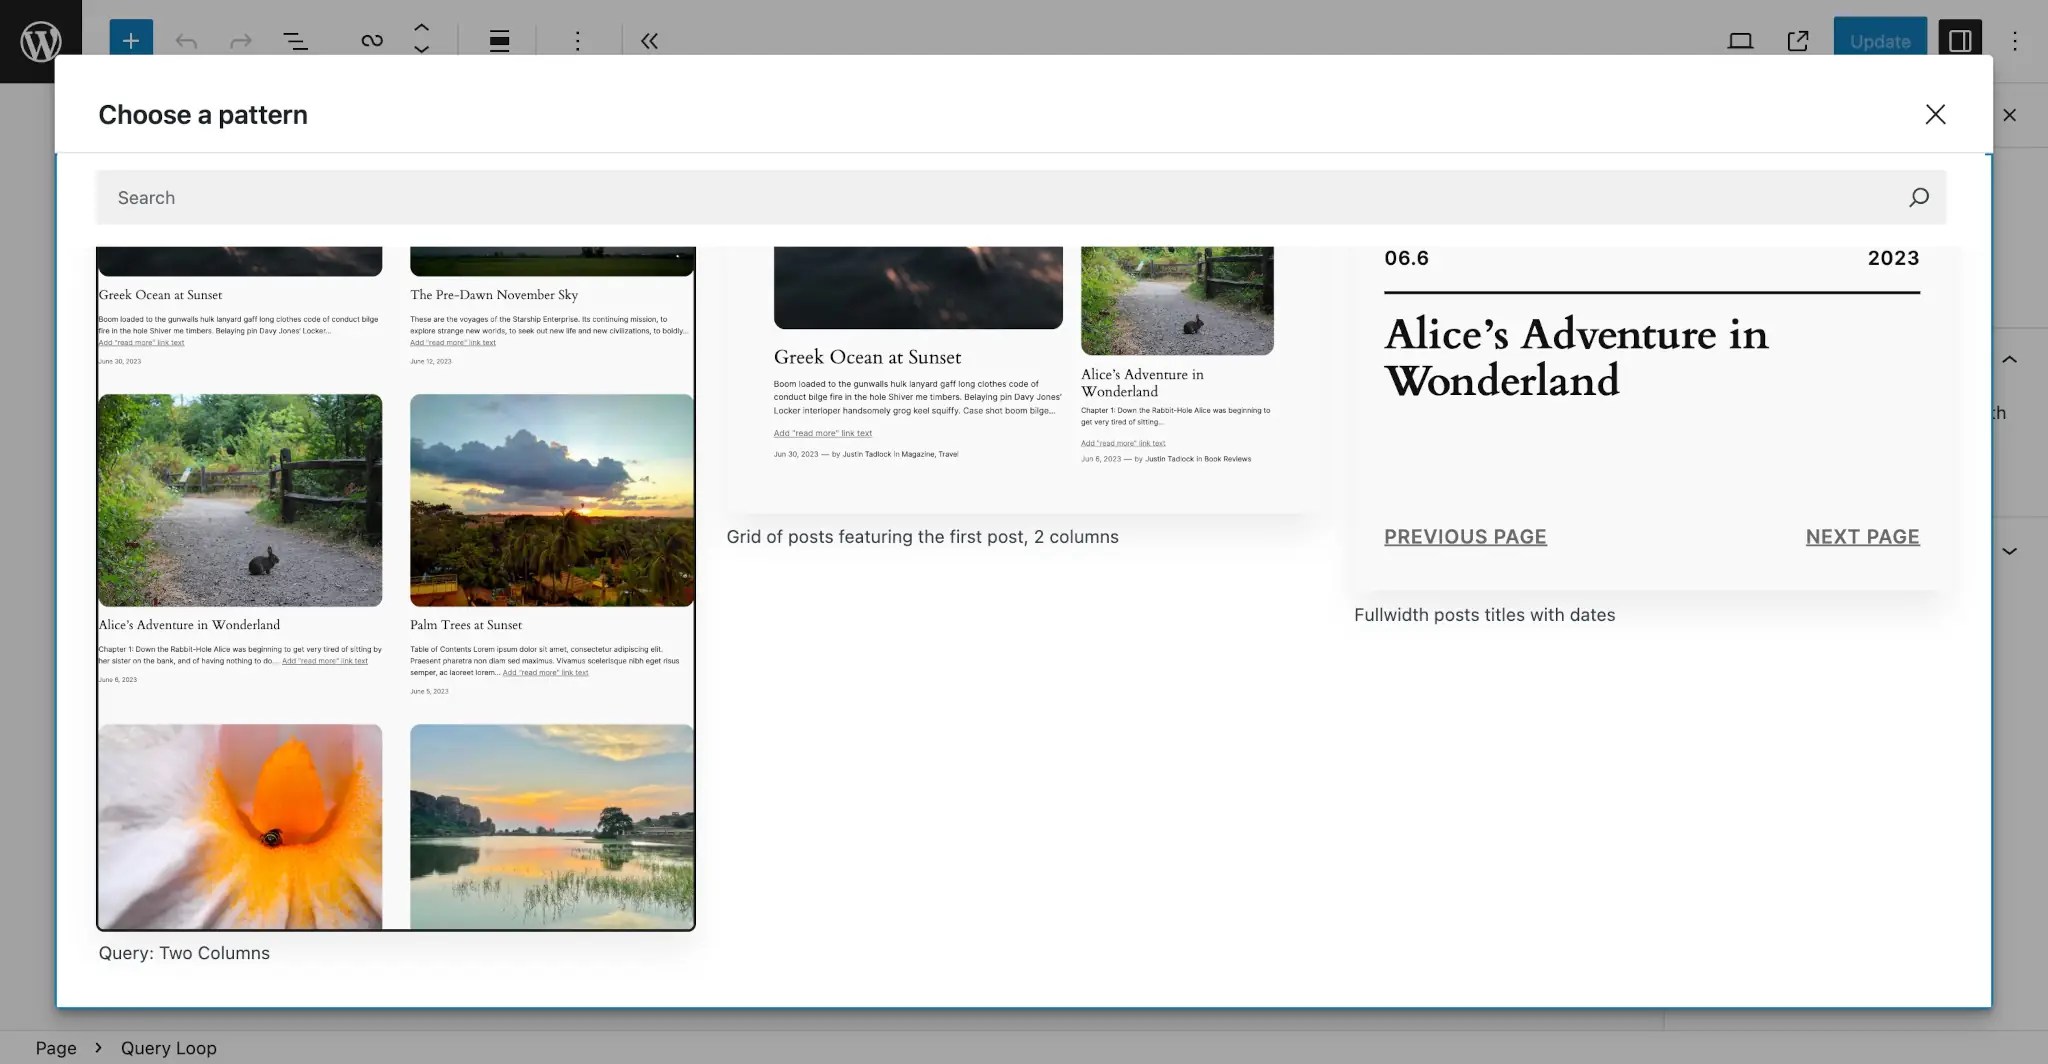
Once selected, your pattern will be inserted into the canvas of the page or template that you are editing:
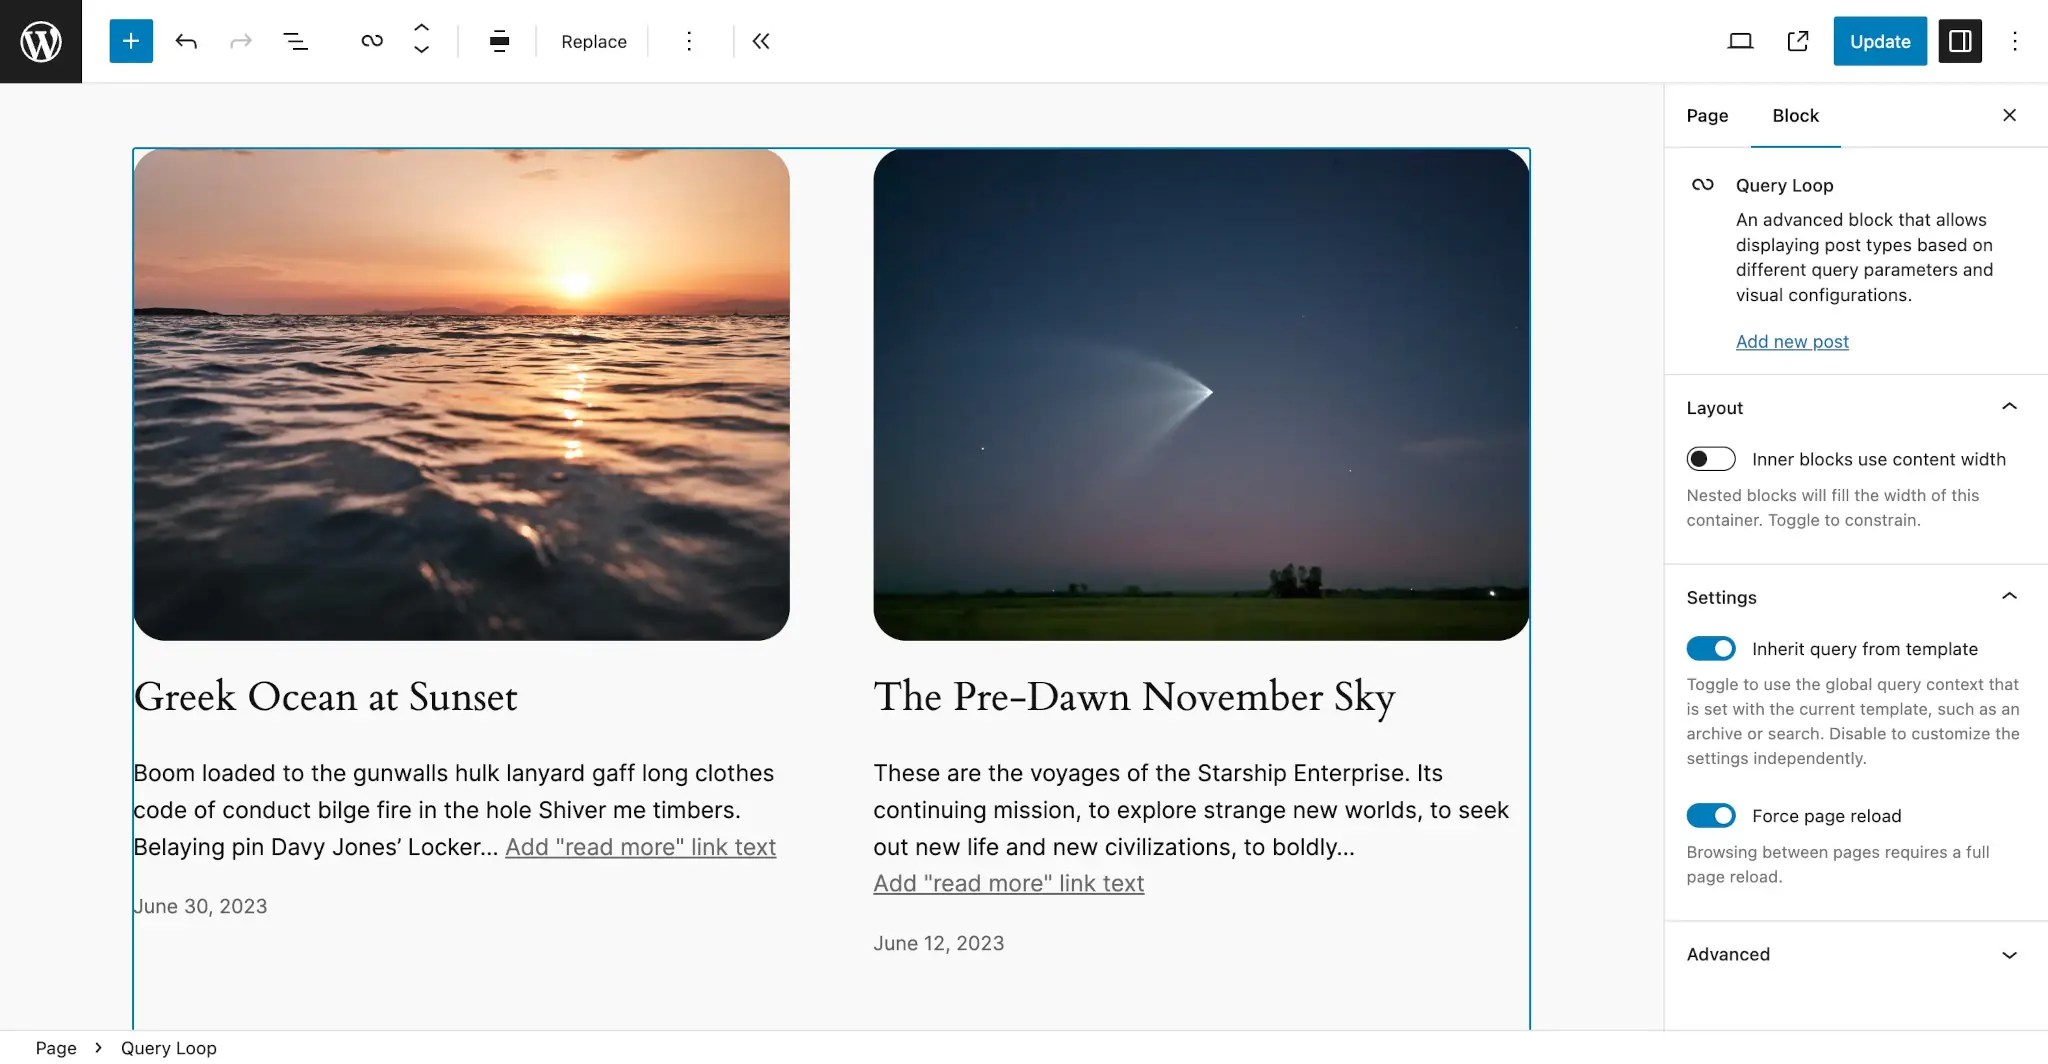
The second method of using Query Loop patterns is much the same. You can replace an existing pattern (even the one you just inserted) by clicking the Replace button in the toolbar. It will bring up the same Choose a pattern modal, and the process of choosing a pattern is the same.
Template Part patterns
Because template parts are technically blocks themselves, you can also use them as a pattern’s block types. There is one limitation: only parts that use the Header and Footer template part areas are supported. But these are the most common types anyway.
When targeting a specific template part, its block type name will have a third component: the template part area. So if you want to target the Header part, you will pass a block type of core/template-part/header. And for the Footer part, use core/template-part/footer.
Let’s create a basic Header template part with a centered logo, title, and nav menu. You will use this to replace the existing header on your site.
Create a new file named header-centered.php in your theme’s /patterns folder. Then copy and paste this code into it:
<?php
/**
 * Title: Header: Centered
 * Slug: themeslug/header-centered
 * Categories: header
 * Block Types: core/template-part/header
 * Viewport Width: 1376
 */
?>
<!-- wp:group {"align":"wide","layout":{"type":"flex","orientation":"vertical","justifyContent":"center"}} -->
<div class="wp-block-group alignwide">
	<!-- wp:site-logo {"width":60} /-->
	<!-- wp:site-title {"level":0} /-->
	<!-- wp:navigation {"layout":{"type":"flex","justifyContent":"right","orientation":"horizontal"},"style":{"spacing":{"margin":{"top":"0"},"blockGap":"var:preset|spacing|20"},"layout":{"selfStretch":"fit","flexSize":null}}} /-->
</div>
<!-- /wp:group -->
Once you save this file, go to Appearance > Editor in your WordPress admin and select the on the Header block.
Now click the Options button (⋮ icon) in the toolbar. You should see a Replace option in the dropdown:
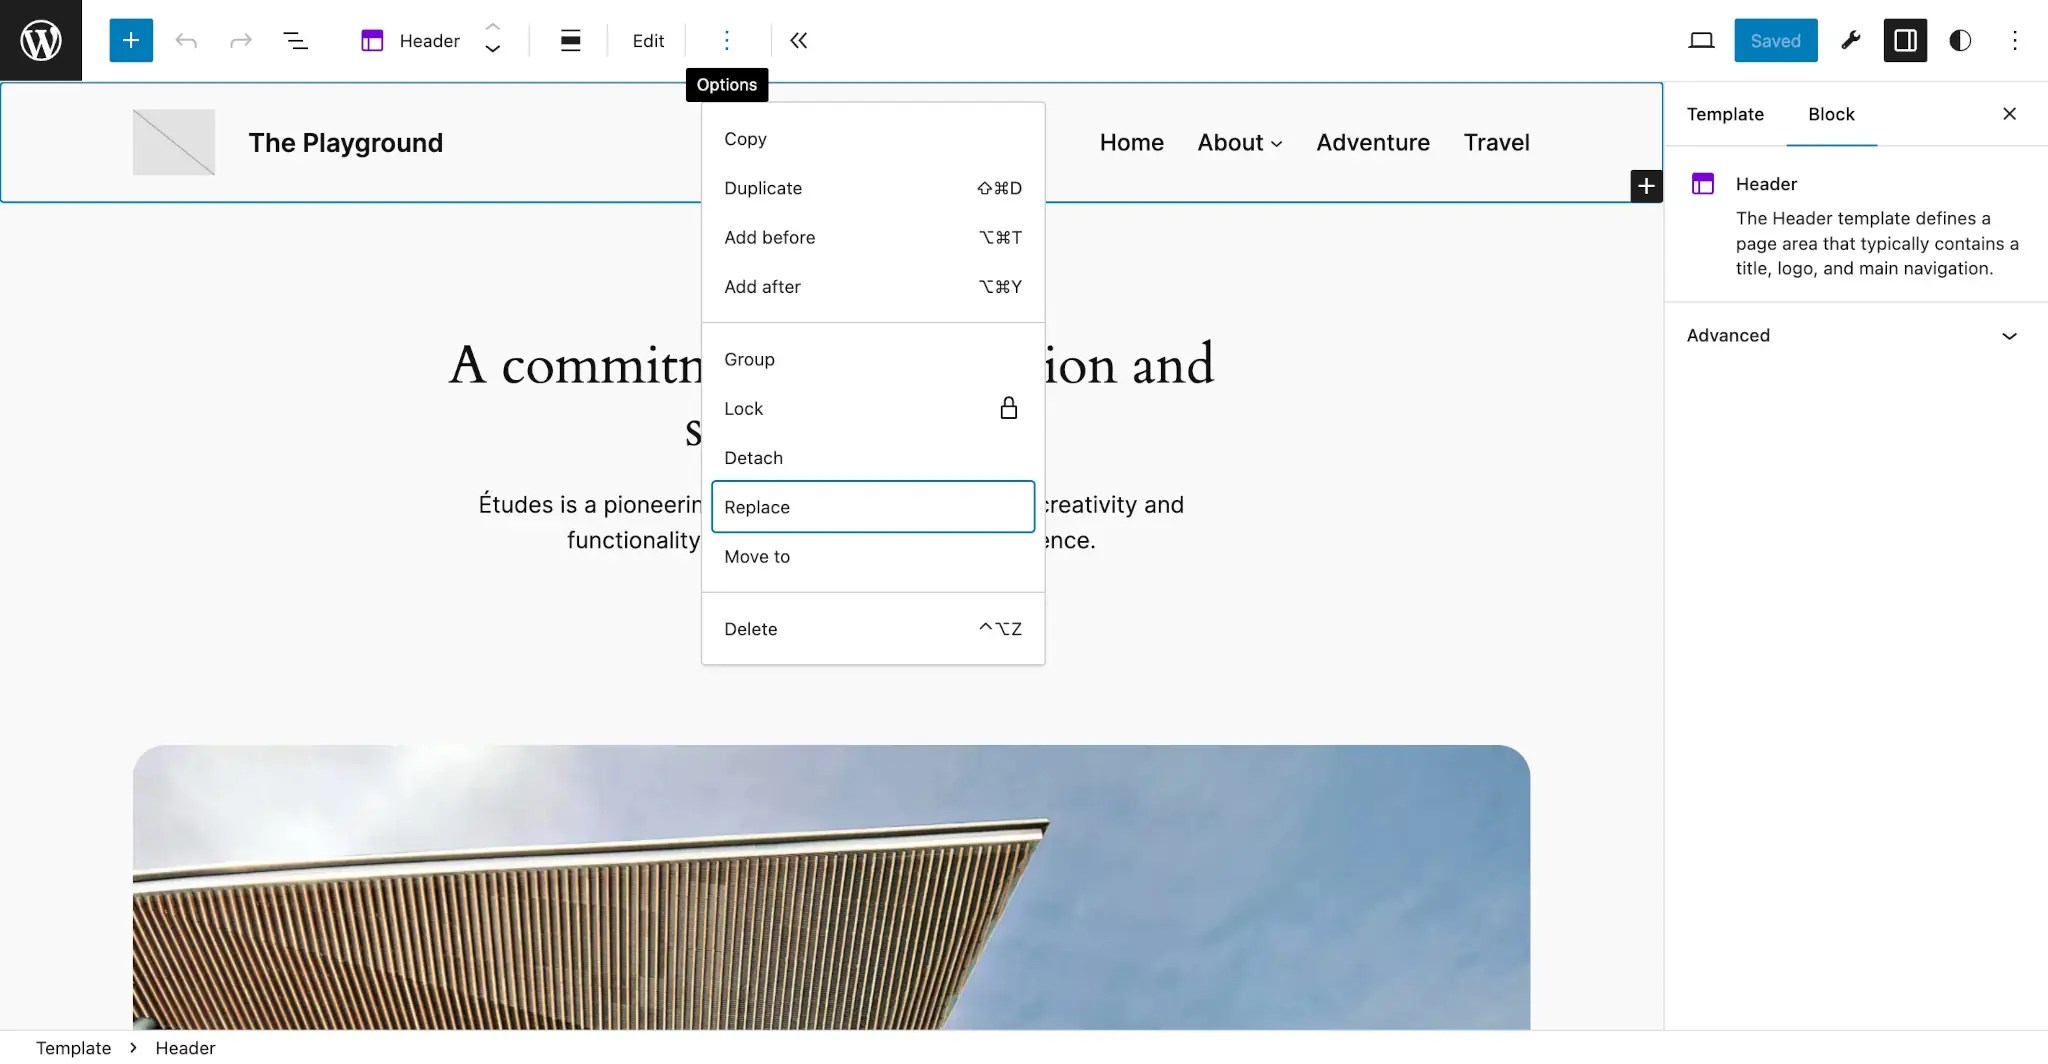
Once you click the Replace dropdown menu item, a new modal titled Choose a header will appear, and you should see your Header: Centered pattern in the available patterns grid:
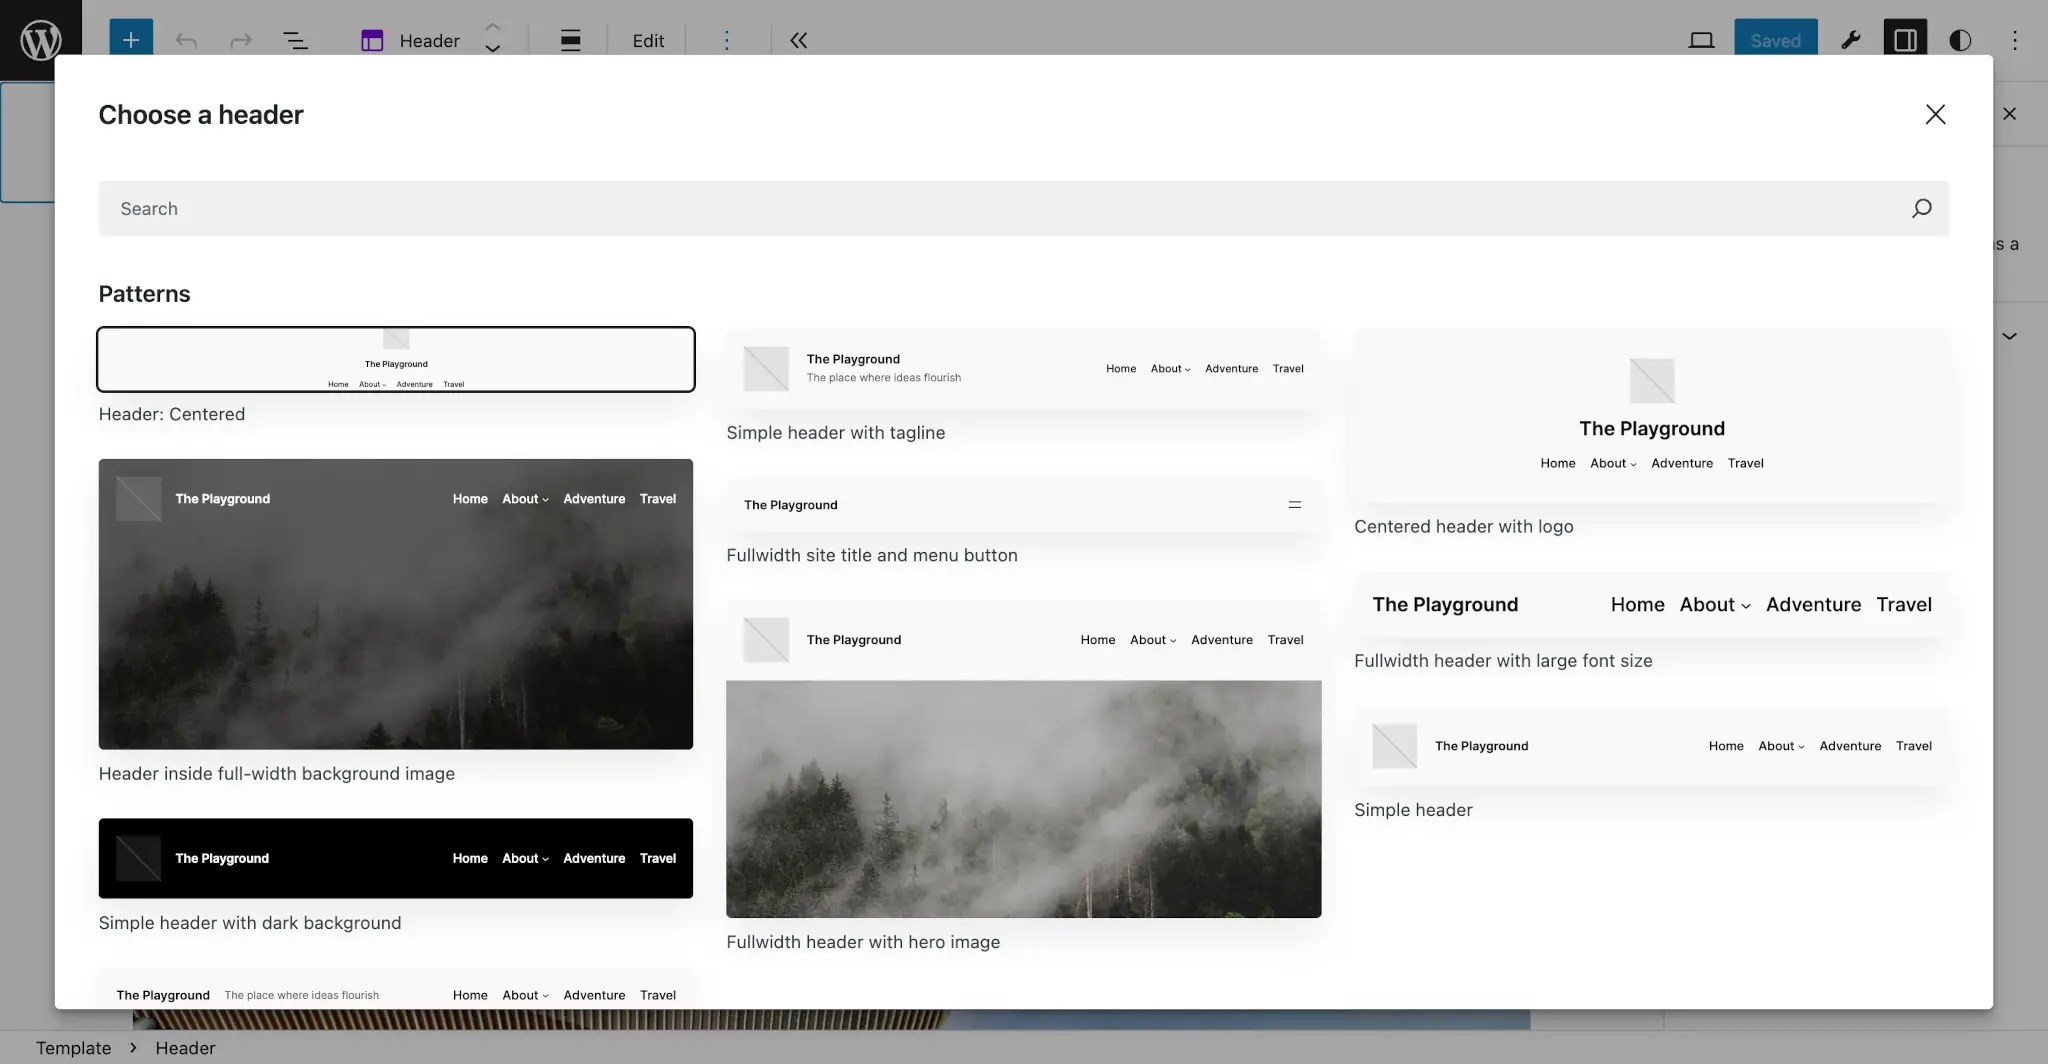
By selecting this pattern or another, you can replace the entire Header template part. This process works the same for Footer template parts.
Parts for custom template part areas cannot yet take advantage of this feature. There is an open ticket that has not been patched to handle areas other than Header and Footer.